Let me get started with posting a few recipes.....but where to begin? Perhaps some basics are a good start.
Chicken Stock
I have found that I can save a lot of money by keeping the off cuts of vegies and freezing them. Unfortunately it does take up a lot of freezer space but I minimise this by squeezing all the air out of the freezer bags before I tie them up.
This recipe fills a 20 litre boiler. You can add more of each ingredient if you wish or less of every ingredient if you don't want to make quite such a large quantity. I make it in bulk to freeze so the more the better. I do find though, that the stock always tastes best at least 24 hours after it's made. I used it fresh from the boiler one day and my soup really lacked flavour. Made the same soup the following week using stock from the same batch and it was delish. If you prefer a vege stock, just omit the chicken and add more of each vege. For those who aren't so sensitive to salicylates, you can add peeled, chopped carrots, parsnip or turnip,
6 chicken carcasses
2 leek chopped roughly
Tops of 6 bunches of spring onions
1 bulb of clove garlic
¼ white cabbage
1/2 a celery, leaves and all, roughly chopped
Stalks of a bunch of parsley
2 swedes, peeled and roughly chopped
2 tsps citric acid
1 tbsp sunflower oil
1 tbsp Salt
Water
Place all ingredients into large boiler (20 litre) and
fill just below rim with water. Cover and bring to the boil. Reduce heat and
simmer no less than 2 hours. Scoop off a little of the fat that sits on the surface then strain and store in 1 litre containers in the freezer.
Pear Sauce
The kids love this stuff. It's our replacement for the old tomato sauce and it is also a fantastic marinade for meats and general condiment in many other recipes. I find this keeps for several weeks if stored in the fridge in sterilised glass.
825g can of pears in syrup ( I use Woolworths Home Brand,
they have no additives)
2 tbs chopped parsley stalks
2 - 3 cloves garlic, chopped
6 - 8 spring onions, chopped
2 tbs maple syrup or brown sugar
1 tsp citric acid
2 tsp salt
Place all ingredients into a saucepan and bring to the boil.
Reduce heat and simmer for 20 minutes or until pears collapse. Allow to cool
slightly then puree. Store in sterilised jars or bottles.
Chickpea dip
This recipe, like so many others I have developed, can be altered slightly for the less sensitive. The juice from half a lemon instead of the citric acid, or some other fresh herbs of your choice (like coriander) and perhaps a little bit of chilli for some zing.
1 can chickpeas, rinsed and drained
½ tsp citric acid
2 tbsp roughly chopped parsley
1 large or 2 smaller spring onions chopped
1 cloves garlic chopped
Sunflower oil
Salt to taste
Place all ingredients in food processor and blend to smooth,
adding more oil as needed to make a smooth consistency.
Beetroot dip
Beetroot is moderate with salicylates so not suitable for those who are extra sensitive. My son can have moderate sals in moderation but I find some fruit and veg in the moderate category affect him more than others. Beetroot is one of the kinder vegies from that category.
6 medium beets
2 cloves garlic, whole with skin on
Salt
3 tbsp sunflower oil
1/2 tsp citric acid
1 – 2 tbsp roughly chopped parsley
Pre heat oven to 180 degrees. Peel beets and cut into
wedges. Pour 2 tablespoons of oil into baking dish and toss in beets. Sprinkle
with salt and bake for about 1 hour or until tender. Allow to cool then place
beets and peeled garlic in food processor with citric acid, parsley and
remaining oil. Blend until smooth. For extra zing, add some spring onion before
blending.
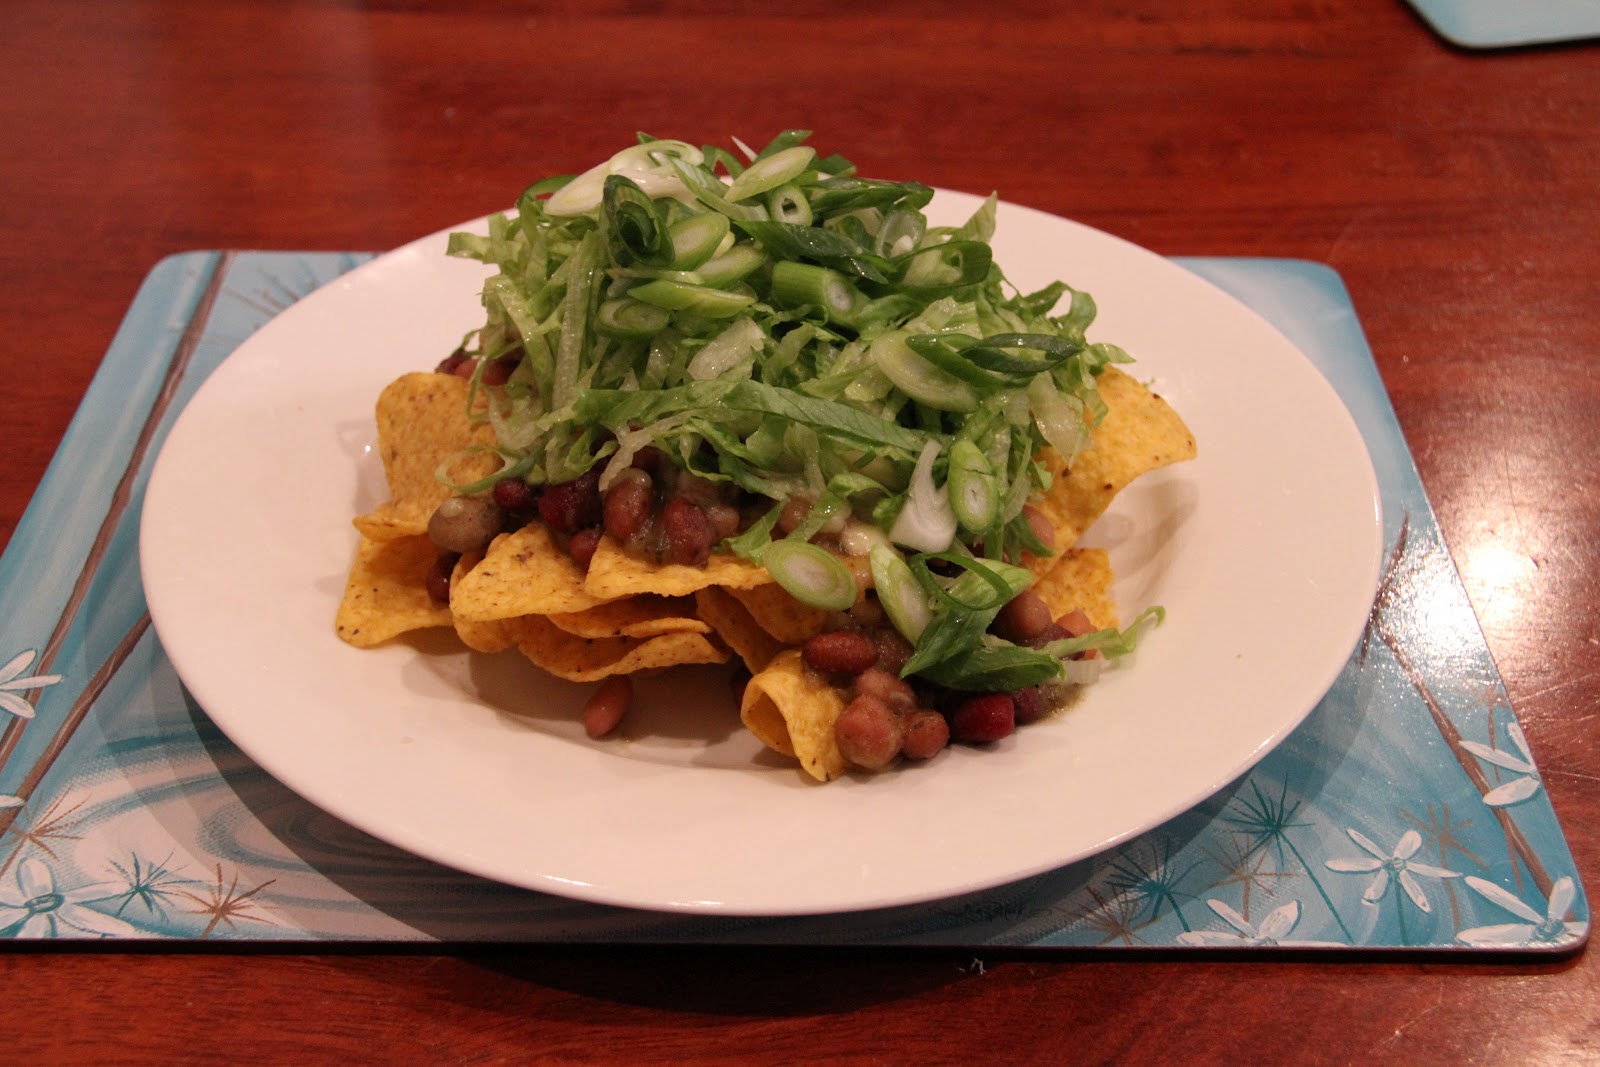
Baked beans
2 tins 5 bean mix (or other beans of choice), drained and rinsed
4 spring onions chopped
1 clove garlic, crushed
1 tbsp parsley, chopped
1 tbsp pear sauce
1 tbsp maple syrup
1/4 tsp citric acid
2 tbsp water
Salt
1 tbsp sunflower oil.
Heat oil in medium saucepan and sauté onions and garlic for
a minute or 2, no longer. Throw in remaining ingredients and bring to the boil.
Reduce heat and simmer for 10 minutes. Serves 2 hungry little boys
Quick baked beans
The perfect snack when you have no time to cook but want something filling and wholesome. We often make this to eat cold for school lunches. Of course you can heat it up too.
2 tins of 5 bean mix (or beans of choice), drained and rinsed
A good slurp of pear sauce, enough to coat the beans and make them a little saucy.
Combine beans and sauce and enjoy. If, however, you desire a quick, warm snack, then bung it all in a saucepan and heat through.
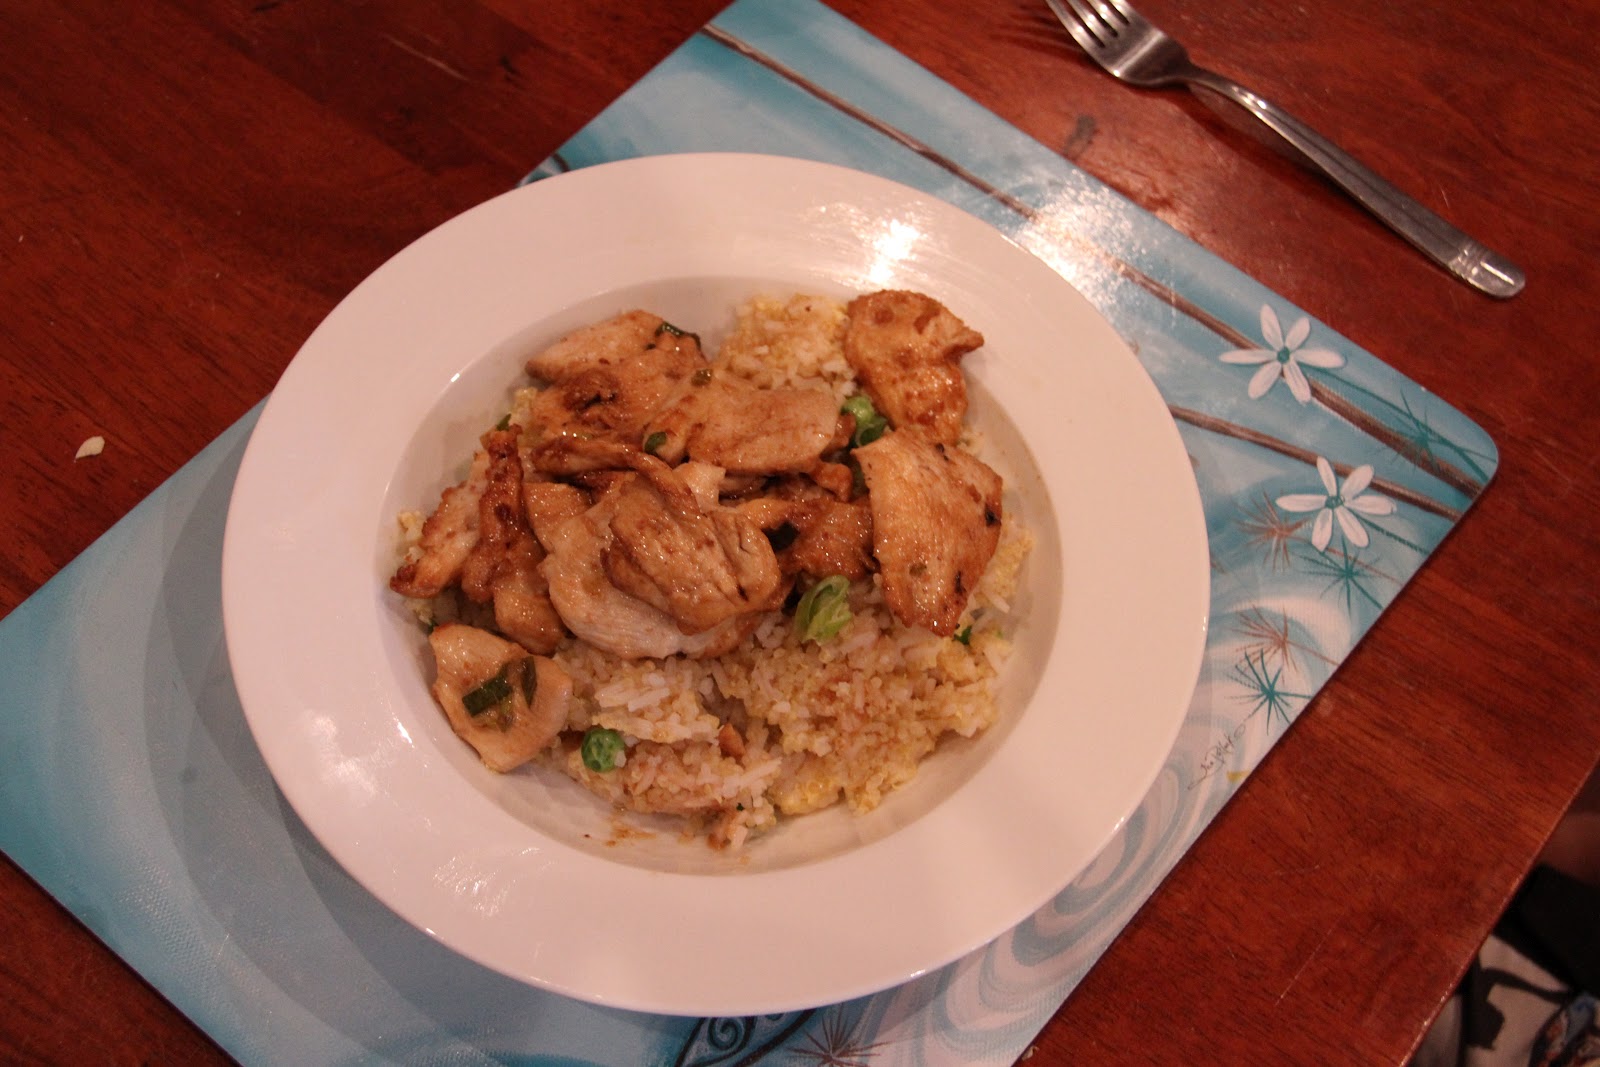
Asian style chicken noodle soup
This is a family favourite. We eat it almost every week, all year round. The recipe below is just a guide, I often put different vegies in, depending on my mood or what's in the fridge. Any of the Asian greens work really well and I have replaced the green beans with snow peas. Some days I don't put in the cashews either and others I use mixed sprouts. This recipe is also perfect if you have a family member who is resisting the "blandness" of the "diet" as you can add soy sauce, sesame oil, harissa, chilli, Asian herbs (like coriander, Vietnamese mint, regular mint), the list is endless. My personal faves are just some soy sauce, harissa and sesame oil but I have added many other things and they are all delish!
2 litres chicken stock
1 kg chicken mince (I use half breast and half thigh)
6 spring onions roughly sliced
2 cloves garlic crushed
¼ small cabbage
shredded
1 bunch Chinese broccoli roughly chopped (optional)
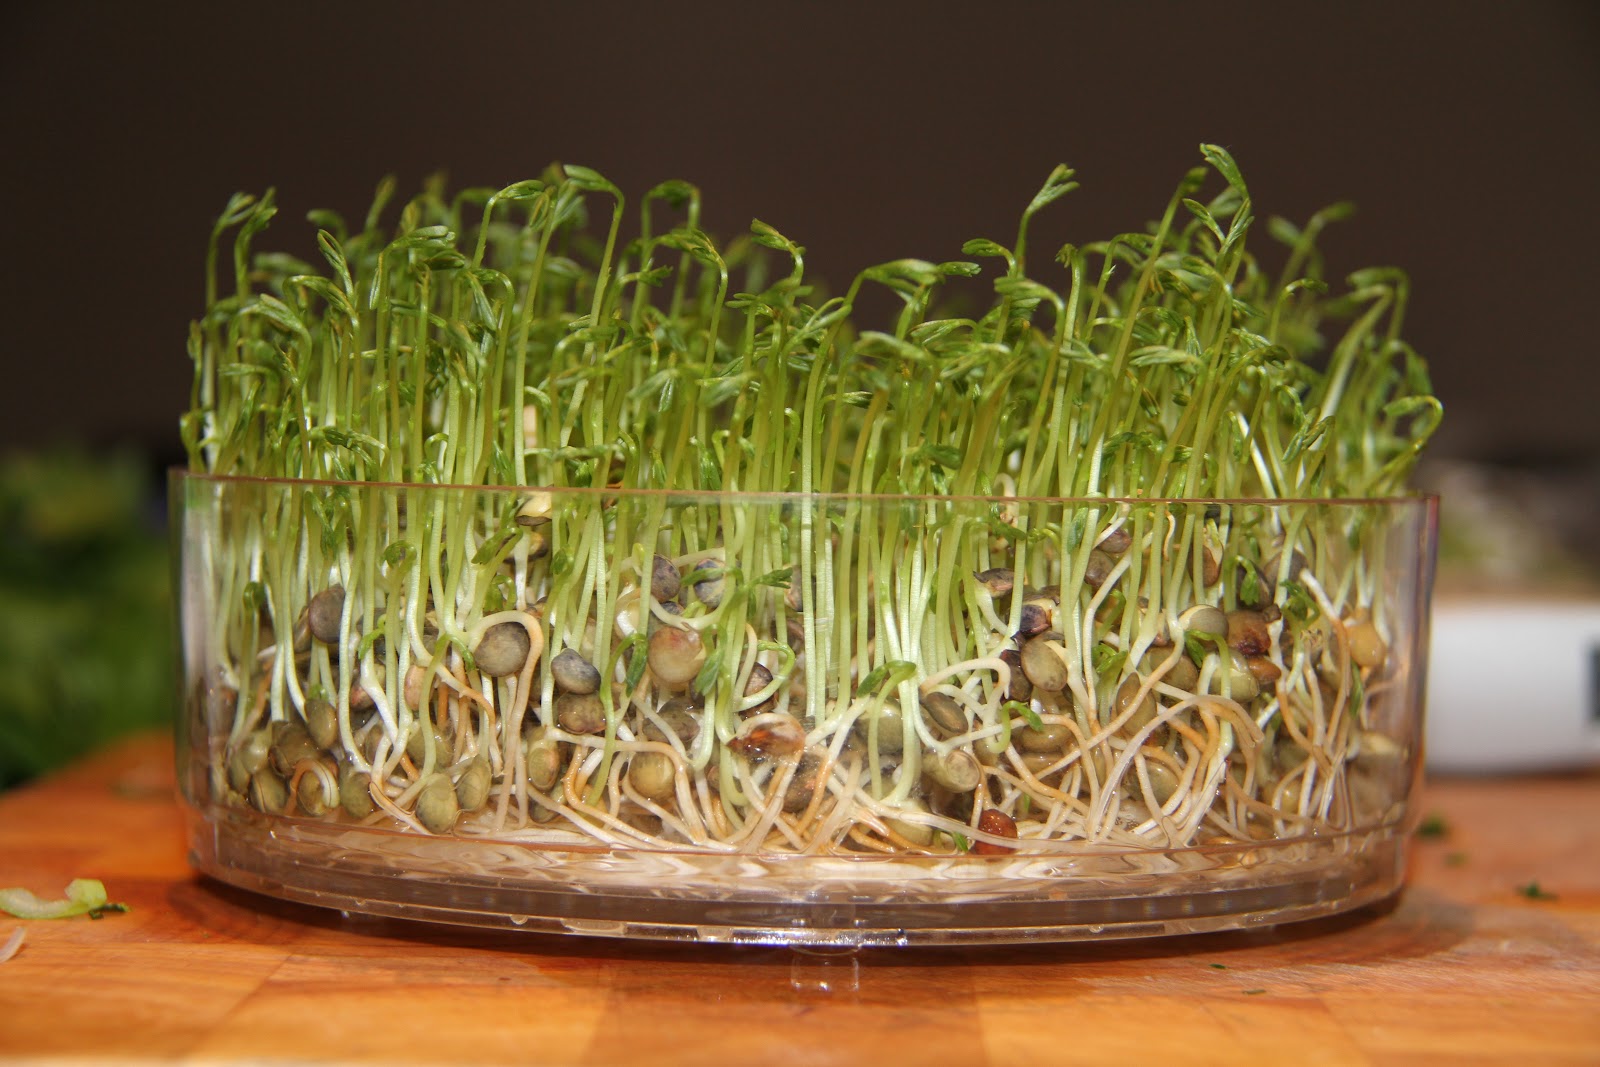
1 cup mung bean sprouts
1 cup green beans roughly chopped
2 stalks celery finely sliced
Tin of bamboo shoots, don't drain as the liquid adds flavour
1 cup roasted cashews
Salt to taste
¼ tsp citric acid
1 250g packet rice vermicelli noodles (larger pack if you really like noodles)
Bring stock to the boil in a medium saucepan. Add chicken
mince and garlic and stir to break up mince. Cook about 5 – 10
minutes. Add celery, broccoli stalks and citric acid and
simmer for 2 minutes. Add remaining vegetables (except sprouts and spring
onions) and simmer for 2 – 5 minutes until veges are just tender then season to
taste with salt. Whilst soup is simmering, prepare noodles according to packet
instructions, then drain and rinse under cold water to stop them sticking
together. Place a good handful of noodles in each bowl along with some spring
onions, mung bean sprouts and cashews then pour over soup. Garnish with chopped
fresh parsley if desired. This recipe feeds at least 4. I usually get 2 serves of left overs as well....perfect for lunch the next day.
Ok, so here's a start. I have plenty more recipes to add but that will have to wait until another time as I'm a little tired of typing and my big guys are home from school. Time to throw together a tasty bean salad for dinner. I'll fill you in on the details of that tomorrow